Set up a Microsoft Dynamics 365 Business Central integration
Couldn't load video
Set up a Microsoft Dynamics 365 Business Central integration
Here's how to set up a Business Central integration with Flexport.
Start by logging in to Flexport. Click business profile, then integrations, and you land on the ERP integration tab.
The table is empty for now, but every enterprise resource planning integration you create lands here.
To start, click create an ERP integration.
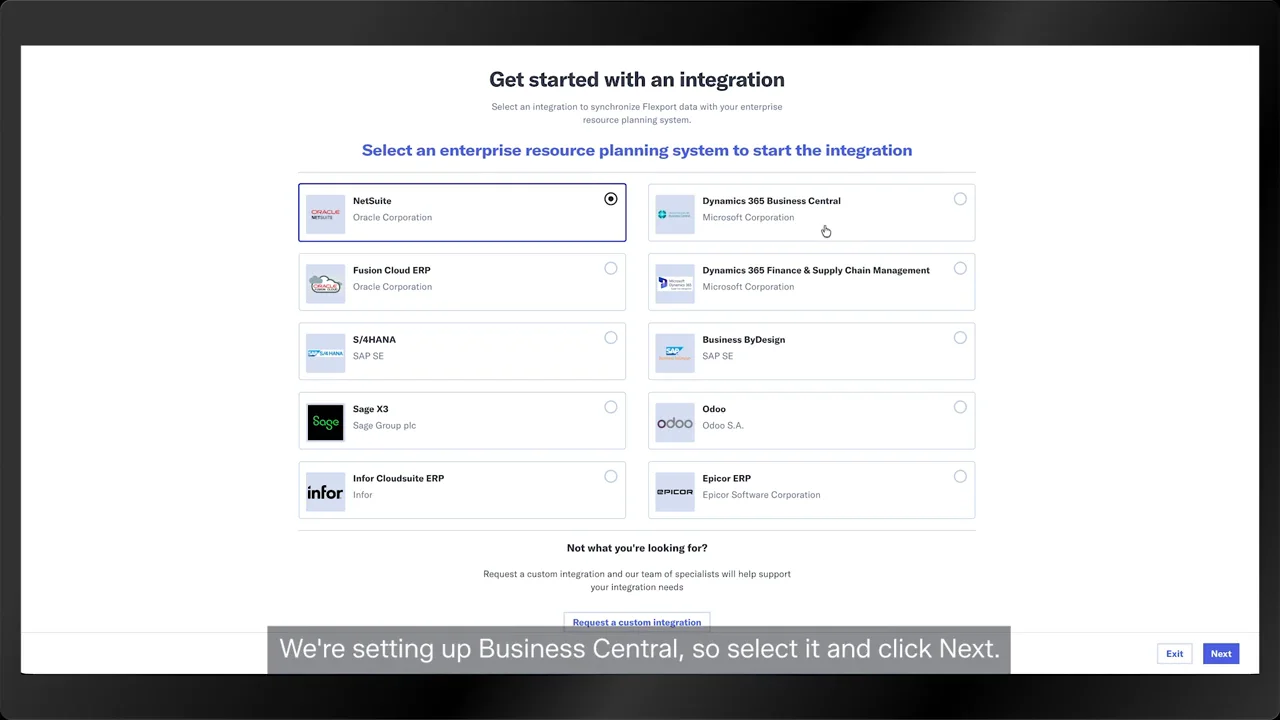
Here are the systems we integrate with. We're setting up Business Central, so select it and click next.
Download the functionality guide or open these dropdowns to see what the integration covers.
The dropdowns show what the integration does and which data is in scope. Click view at the end of a bullet to see the full data mapping.
First, fill in your integration name and a contact email address.
Integration errors, go to this address, so use one your team actually watches.
Then click save and next.
Next, you'll create an app in Microsoft Entra.
That's what lets your Business Central environment talk to FlexBoard. Go to entra.microsoft.com and click app registrations.
Then start your app registration. Click new registration.
Give the app a name. Mine matches the integration name, but anything your team recognizes works.
Now fill in the redirect URI section. Choose web in the first box, then copy the URL from the onboarding guide into the second.
Then click register.
Back in the onboarding guide, pick the environment you're integrating with. I'm using the sandbox.
In Entra, copy your application ID and paste it into the client ID box.
Then copy the directory or tenant ID into the second box.
Keep both of these somewhere handy. You'll need them again later.
Back in the onboarding guide, click save and next.
Now you'll authorize the app so Microsoft lets Flexport reach your business central environment.
Start by downloading the Flexport certificate.
In Entra, open your new app and click certificates and secrets.
Open the certificates tab and click upload certificate.
Click the file button, find the certificate you downloaded, and click open.
Add a name. Mine is demo certificate. Then click add.
Next, open the API permissions tab. Click add a permission and pick Dynamics three sixty five Business Central.
Choose application permissions, tick api.readwrite.all and automation.readwrite.all. Then click add permissions.
Then click grant admin consent. If you don't have global admin rights, your Microsoft global admin clicks it for you.
Point them to Entra, app registrations, and your app in the list. From the API permissions tab, they can grant consent right there.
With consent granted shown in the status column, head into Business Central and check your user account permissions.
In Business Central, search for users. Open the users page under administration. Find your account and click into it.
Under user permission sets, look for security.
If it's missing, click the empty row at the bottom and then the three dots. Find security in the list.
Click it and it fills in here.
Then pick the company you're building the integration for.
The top right corner shows when it's saved.
Search again for Entra and open Microsoft Entra applications.
Click new and fill in the application ID from earlier. Mine's still open, but your notepad copy works just as well.
Add a description. Mine matches the integration record, but any name your team knows works.
Now switch the state from disabled to enabled. A pop up says the username Demo Business Central will be created. It asks whether to continue. Click yes.
In user permission sets, click the empty box, then the three dots and choose D365 automation.
On the next line, do the same for d three six five BS Premium.
Set your company on both entries.
With consent granted, head back to the onboarding guide and click test connection.
That confirms the app is set up and working.
Once it passes, click next.
Next, you'll see every company in your Business Central environment. Pick the one you're integrating and move on.
Now install the Flexport extension and give it permissions.
It adds the fields that carry your Flexport data, like flex ID, milestones, and landed cost.
Click here to open the extension page, then click get it.
This adds the extension to your environment. Choose the environment sandbox in our case, and click install.
Click continue, then install, and it runs.
Back in Microsoft Entra applications, open the app you set up.
In user permission sets, click the new line, the three dots, and choose FXP integration.
That lets the extension talk back to Flexport. Then, pick your company.
Back in the onboarding guide, click save and test.
The test confirms the extension is installed. When it passes, click next. Now choose the data you want in the integration. View the data shows exactly what each option brings in.
For this demo, we'll take both milestones and landed cost. Then click save and next.
Review what will be sent, then save and next again.
Now create a test purchase order or PO so Flexport can prove it reads and writes. An existing one works, but it gets edited, so a test PO is safer.
Click here to jump to the PO page or navigate there yourself.
Click new and fill in the basics, like vendor name.
Then add a PO line with an item number and a quantity.
Fill in the shipment method code, which maps to your Incoterm in Flexport. Back to the onboarding guide, click save and next.
Find your new PO number in the list. Mine is 106075. If it's not there, hit refresh.
Save and next runs the read and write test on that PO. When it succeeds, click next.
Review the field mapping. It shows how Business Central fields line up with FlexPort fields. Nothing to do here. It's for reference. Then click save and next.
The next step finds your custom Business Central fields and lets you pull any of them into your Flexport POs.
Pick the ones you want, then click save and next.
Filters decide which orders come across from Business Central. You can filter by creation date, end date, PO, prefix, or vendor.
There's one filter set per integration, and a PO has to match all of it to sync.
Click save and next.
Review the details and click activate. The integration turns on and shows up in your ERP integration tab, and you're set.
Related videos
 Product Demos10 Minute WatchWatch now
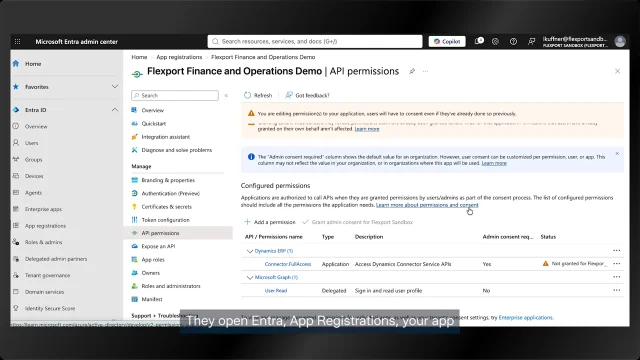
Connect Microsoft Dynamics 365 Finance & Operations to Flexport
Set up an ERP integration between Microsoft Dynamics 365 Finance & Operations and Flexport, starting from the integrations tab in your business profile.
 Product Demos2 Minute WatchWatch now
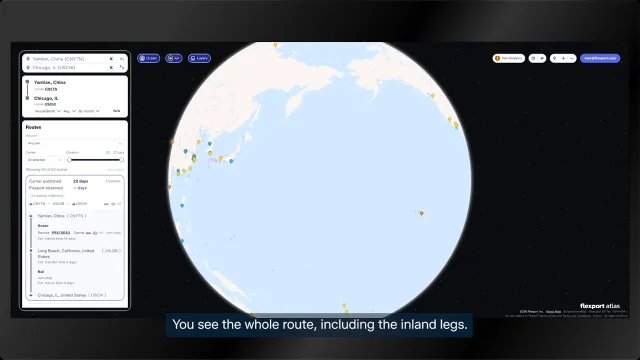
What's new in Atlas: rail, barge, disruption monitoring and emissions
Atlas routing now includes barge and rail legs, Flexport predicted dates, observed transit times, CO2 emissions per route, and AI-surfaced disruptions.
 Product Demos1 Minute WatchWatch now
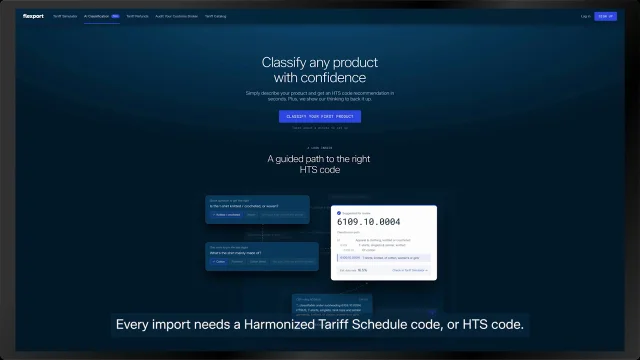
Classify your products with Customs AI
Describe what you're shipping in plain language and get the chapter, HTS code and duty rate, with follow-up questions for any missing details.
 Product Demos3 Minute WatchWatch now
First booking with Flexport: a guide for English-speaking shippers
Walk through your first shipment with Flexport in English.