Connect Microsoft Dynamics 365 Finance & Operations to Flexport
Couldn't load video
Connect Microsoft Dynamics 365 Finance & Operations to Flexport
Here's how to connect Microsoft Dynamics three sixty five Finance and Operations to Flexport.
Start by logging in to Flexport.
Click business profile, then integrations, and open the ERP integration tab.
Your enterprise resource planning integrations show up in this table once they exist. To start, click create ERP integration.
Here are the systems we integrate with.
We're setting up finance and operations, so select it and click next.
Open these drop downs to see what the integration covers.
They show what the integration does and which data is in scope. Click view to see the data mapping.
First, fill in your integration name and a contact email address. Name your integration, and your email address is already filled in.
Integration error notifications go to this address, so pick one your team checks.
Next, copy your finance and operations URL and paste it here.
Then click save and next. Now you'll create an app in Microsoft Entra. That's what lets your finance and operations environment talk to Flexport.
Go to Microsoft Entra and click app registrations.
Then start your app registration by clicking new registration.
Give the app a name.
Mine matches the integration name, but any name your team recognizes works.
Fill in the redirect URI field from the FlexPort instructions and choose web from the drop down.
Then click register.
Back in the Flexport instructions, pick the environment you're integrating with.
We're using the sandbox, so sandbox stays selected.
In Entra, copy your client ID and paste it here.
Then copy the directory or tenant ID into the second box.
Keep both IDs in a notepad since you'll need them later. Then click save and next.
Now, you'll authorize the app so Microsoft lets Flexport reach your finance and operations environment.
Start by downloading the Flexport certificate with this button.
In Entra, open your new app and click certificates and secrets in the sidebar.
Open the certificates tab and click upload certificate.
Select the certificate you downloaded, give it a name if you like, and click add.
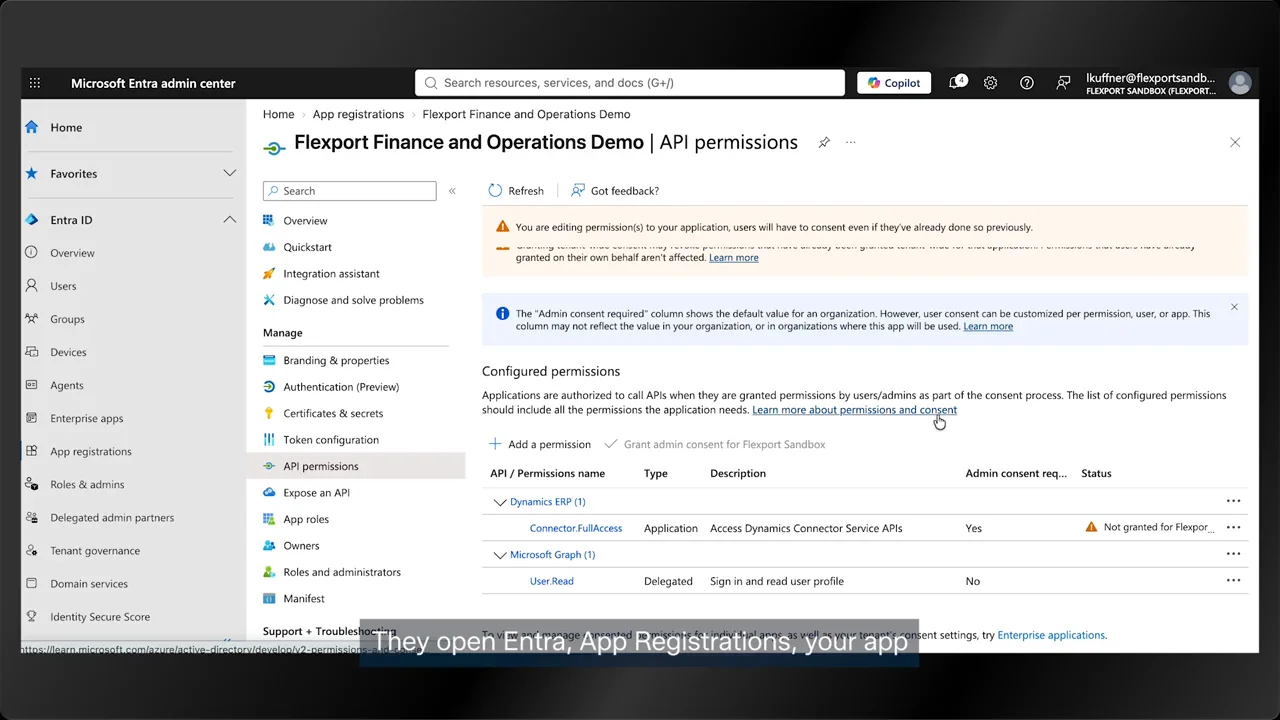
Next, click API permissions.
Once it loads, click add a permission and pick Dynamics ERP.
Choose application permissions, tick connector full access, then click add permissions.
Then click grant admin consent.
If you don't have global admin rights, your Microsoft global admin does this for you.
They open Entra, app registrations, your app, and the API permissions tab, and grant consent from there. You can also copy the URL above and send them a direct link.
I'll send the request to my global admin and be right back.
My global admin has granted consent.
The status still says not granted, so refresh the page.
Now the status shows a green check mark.
Next, head into finance and operations and check the permissions on your user account.
Click the search bar, type users, and open users under system administration.
Find your user account and click into it.
Mine is the admin account.
Click assign roles and look for system administrator in the list.
I already have that role, so it doesn't show up.
If it's there for you, select it and click okay.
Next, create an integration user in finance and operations.
The Entra app needs its own account there to update voyages and purchase orders or POs.
Go back to the user list and click new at the top.
Fill in the user ID, username, and email address for the integration account.
I'm using a demo email address.
Make sure enabled is set to yes.
In the permissions pane at the bottom, assign system administrator like before and click okay.
Then click save at the top.
Once it's saved, search for Entra and open Microsoft Entra ID applications.
Click new, then fill in the client ID, name, and user ID.
Paste the application ID you copied earlier into client ID.
For user ID, pick the integration user you just created.
Click save at the top.
Back in the FlexPort instructions, click test the connection to check your setup.
When the success message appears, click next, then save and next.
This step lists every company or legal entity in your finance and operations environment.
The integration works with one company, so pick the one you're setting it up for.
I'll pick Contoso Entertainment System USA and click save and next.
Now, choose what data goes into the integration.
View the data shows what each option includes.
For this demo, it's yes to both shipment milestones and landed cost, then save and next.
Review the data Flexport will send, which is just for your information.
Click save and next again.
Next, create a test p o in finance and operations so Flexport can prove it reads and writes your p o's.
An existing p o works, but the test edits it so a test p o is safer.
If you use order management, your POs sync from finance and operations into Flexport once the integration is live.
Without order management, you can still finish setup, but POs won't sync until you onboard to it.
Head into finance and operations to create the test PO.
Click here to jump to purchase order preparation or navigate there yourself.
Click create new purchase order at the top.
In the pane that opens, fill in the vendor name and vendor account, and the other required fields fill themselves in.
Then click okay.
Add a p o line with the item number, and the product name and unit price fill in automatically.
Here's the product name, and here's the unit price. This item needs a site, but the integration doesn't, so skip it if you can.
Then, add a quantity.
Click save at the top.
Once it saves, go back to Flexport and click select purchase order for testing. Pick the p o you just created, then click save and next.
If it's not in the list, click refresh.
The sync test passed, so Flexport can read and write your POs.
Click next.
This page shows the field mapping between finance and operations in Flexport with the sync direction for every in scope field.
Nothing to do here. It's for reference.
Click save and next.
The next step finds the custom fields on your finance and operations POs and lets you pull any of them into Flexport.
You don't have to pick any.
If you want some, select them here.
I'll take both of mine and click save and next.
Filters decide which POs come across from finance and operations.
You can filter by creation, start date, end date, PO prefix, vendor.
Vendor is multi select, so pick as many as you like and clear them with this toggle.
There's one filter set for integration and a PO has to match all of it to sync.
Set your filters and click save and next. Review the details and click activate.
The integration turns on and shows up in your ERP integration tab, and you're all set.
Related videos
 Product Demos10 Minute WatchWatch now
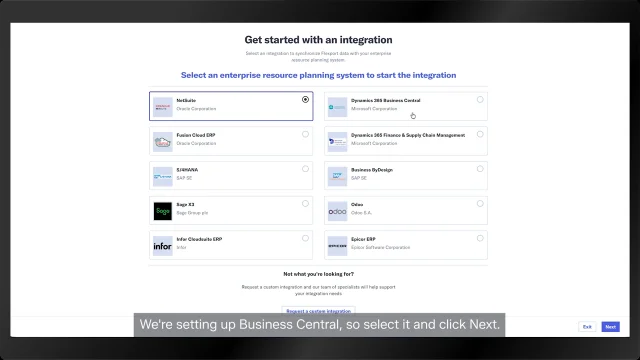
Set up a Microsoft Dynamics 365 Business Central integration
Walk through creating a Business Central ERP integration with Flexport, from the integrations tab to a connected account.
 Product Demos2 Minute WatchWatch now
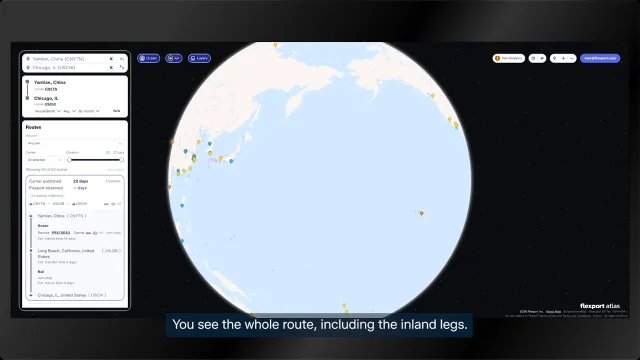
What's new in Atlas: rail, barge, disruption monitoring and emissions
Atlas routing now includes barge and rail legs, Flexport predicted dates, observed transit times, CO2 emissions per route, and AI-surfaced disruptions.
 Product Demos1 Minute WatchWatch now
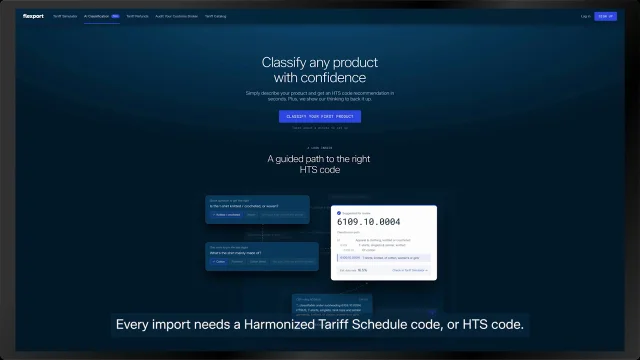
Classify your products with Customs AI
Describe what you're shipping in plain language and get the chapter, HTS code and duty rate, with follow-up questions for any missing details.
 Product Demos3 Minute WatchWatch now
First booking with Flexport: a guide for English-speaking shippers
Walk through your first shipment with Flexport in English.